Gas Lid Conversion Kit: Cooper S: R55/6
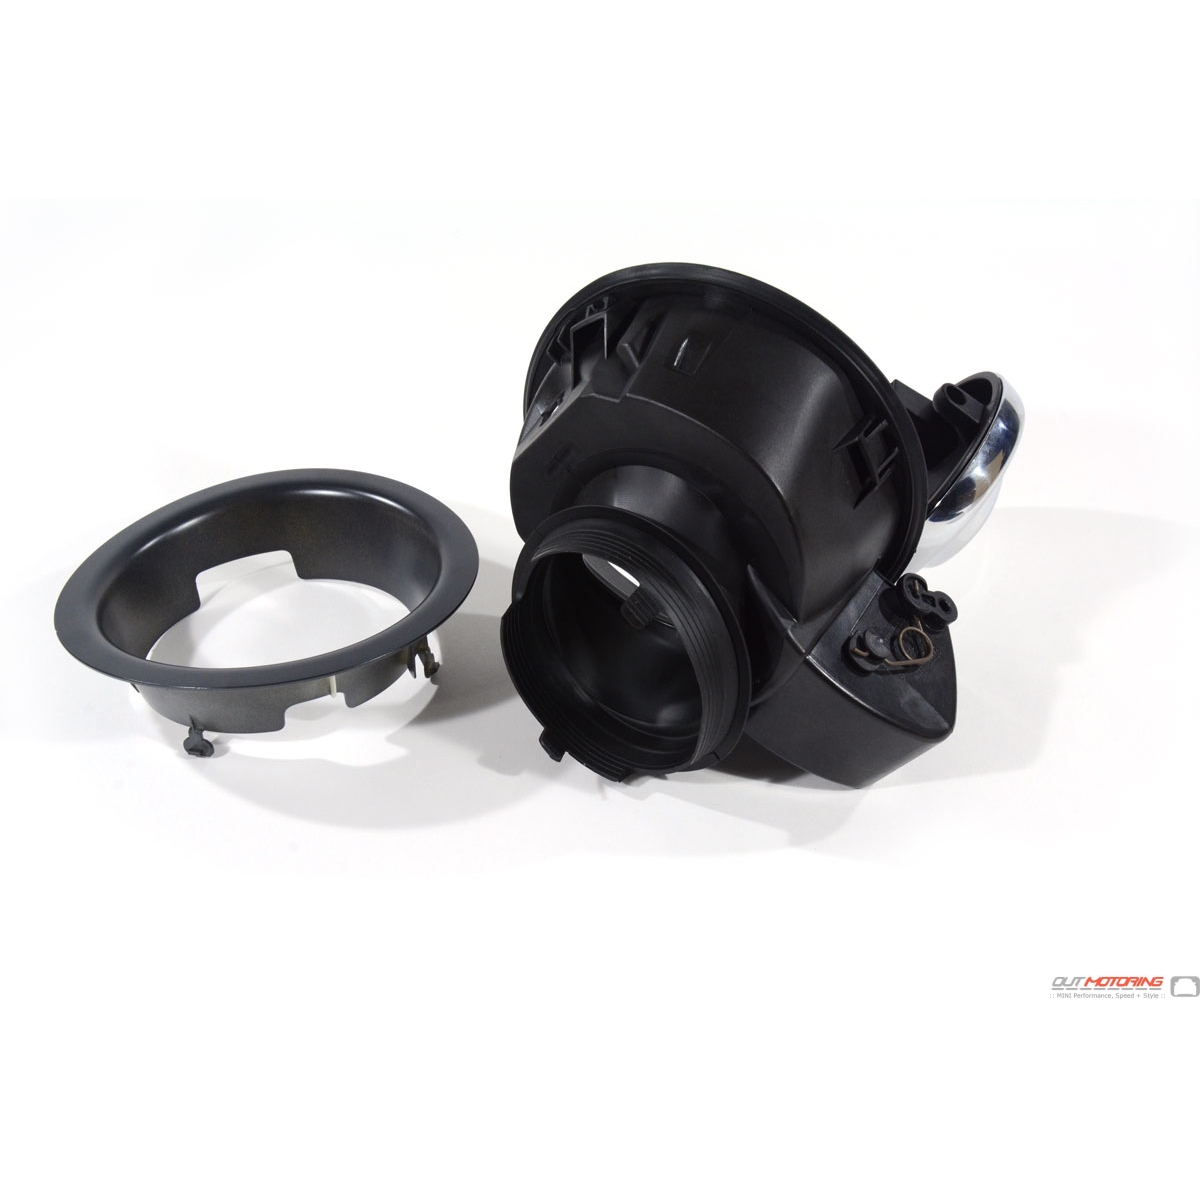
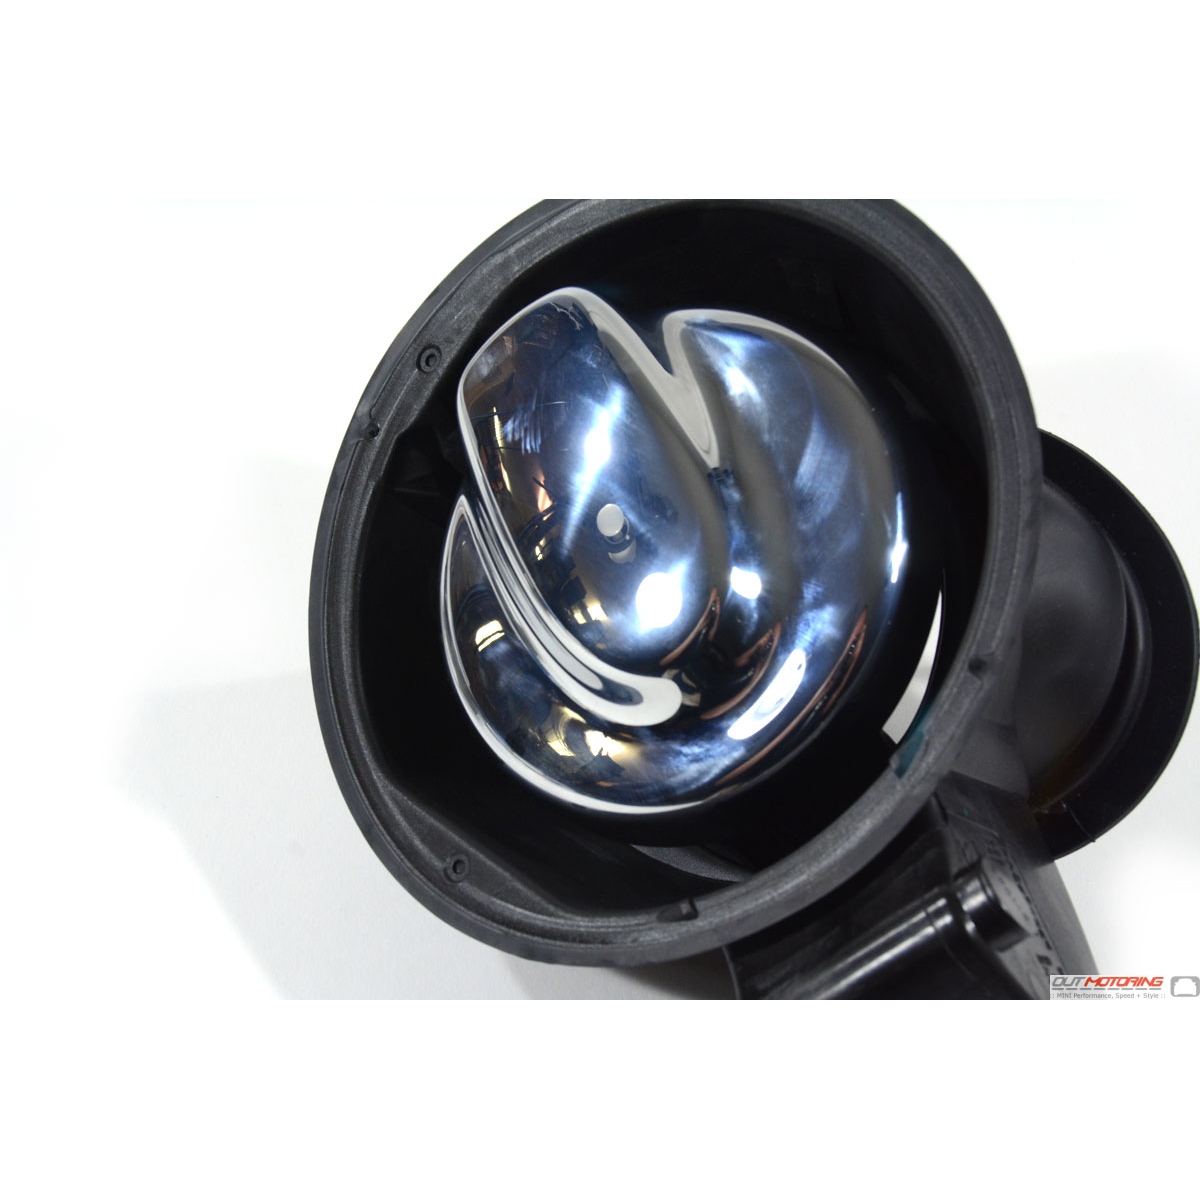
Move your mouse over image to zoom. Click to enlarge
Gas Lid Conversion Kit: Cooper S: R55/6 Gas Lid Conversion Kit: Cooper S: R55/6 Gas Lid Conversion Kit: Cooper S: R55/6 Gas Lid Conversion Kit: Cooper S: R55/6 Gas Lid Conversion Kit: Cooper S: R55/6 Gas Lid Conversion Kit: Cooper S: R55/6

Reviews

There are no product reviews for this product yet.

If you have purchased this item and would like to leave a product review please sign in to add your review.

Gas Lid Conversion Kit: Cooper S: R55/6

SKU:  51170419864
mfg#:  51-17-0-419-864
alt#:  51 17 0 419 864
WEIGHT:  2.00 lbs
brand: MINI
Our price: $133.90
list price: $142.00
you save: 6%
 
qty
 
Average customer rating:
4.98 out of 5
(based on 355 votes and 0 reviews)
 

  • Earn Cash Rewards You can earn 0 Motoring Points today. Click here
  • Ask a question about this partAsk a question about this part. Click here

Details

Make your R55 + R56 Cooper look more like the Cooper S by replacing the Gas Lid mechanism and door with these parts straight from MINI for a perfect fit. Included trim ring will require painting to match the color of your car.


This Gas Lid Conversion Kit is one of the many MINI Cooper Parts and Accessories that we carry and will fit the following MINI Cooper Models and Years:


Gen2 MINI:

R55 MINI Cooper Clubman: 2008, 2009, 2010, 2011, 2012, 2013, 2014, 2015

R56 MINI Cooper Hatchback: 2007, 2008, 2009, 2010, 2011, 2012, 2013


Fitting Instructions

1. Jack up and remove wheel.
2. Chock under the hub and ease the car down onto it so the weight is off the car jack.
3. Remove the black plastic screws and their surrounds from the cover behind the wheel.
4. Remove 2 plastic nuts from the cover behind wheel.
5. Remove 1 self tapping Torx screw from the bottom of the wheel arch at the front of the rear wheel.
6. Remove steel nut holding filler to bodywork underneath wheel arch.
7. Remove steel nut holding filler tube to bodywork underneath wheel arch.
8. Lift the filler tube over the stud that held it to the bodywork.
9. Open the filler cap, remove black cap, push the filler inwards into the wheel arch, you may have to wiggle the filler at the same time.
10. Remove the filler locking mechanism.I used the torx screwdriver to rotate the black plastic grommet anti clockwise 1/4 turn, then pull itfrom the rubber gaiter underneath. It may be best to lock the car so that the filler lock plunger moves further in. I didn't do this and ended up losing it inside the bodywork for some time!
11. With your left hand put your fingers into the noe empty filler hole, find away underneath the rubber that seals it between the filler pipe on the right hand side and give it a tug outwards and to the front of the car at the same time, hopefully it will pull off one of the little clips that holds it to the bodywork.
12. Remove the old filler cap
13. Put the new filler in position, before clipping it fully, make sure it fits over the locking plunger, then place the plastic grommet and rubber gaiter over theplunger and clip into place, the push onto bodywork.
14. This is the hard bit...push the filler pipe back onto the stud on the side of the bodywork, after I did this the filler spout fell into place in the the rubber seal on the filler cap. Believe me you will not regret chocking the car at this point !!!
15. Once the filler is in place, remve the rubber lanyard from the old black filler cap where it slots into the old filler, and replace on the new filler cap.
16. Fit new plastic trim into bodywork. ( You will have to have this painted to match your car) It just clips in. Be CAREFULL when you remove the old one as you may scratch the paintwork YOU HAVE BEEN WARNED.
17. Refit the 2 steel nuts underneath the wheel arch, then re-attach the wheel arch cover, the 4 black plastic screws just push in this time, the 2 plastic nuts and 1 self tapping torx screw.
18. Don't forget to put your wheel back on, doesn't drive well on 3 wheels


R-Fifty WHAT?? Confused about what model MINI you have? We’re here to help. Check this out for more information.


Reviews

There are no product reviews for this product yet.

If you have purchased this item and would like to leave a product review please sign in to add your review.


Customers' comments

Hi,
I recently purchased the belt tensioner from Alta and had it installed. Had I only known over the past several thousand miles that my shock was bad, I would have changed it sooner. The shop guys brought the old one out to show me that it was completely useless. Since replacing it my mileage has increased dramatically, and performance as well. apparently the drive belt was slipping on the super charger. And power, all I can say is "Yeah, Baby". Thanks guys for making this part available.
Best Regards,
Ron
Ron

I just wanted to thank you for the FANTASTIC experience!!! I ordered over $900 and everything arrived timely as promised!! Everything was in PERFECT condition!!! sd

I hope you use my comments on your website because it was a GREAT experience.

Thank you

Dennis
Dennis

These guys are the best. Their knowledge of these cars is over the top. You get so much more than parts here; you get knowledge and amazing customer support. I just won't deal with anyone else anymore, this place is that good. Than you Aaron and everyone for making a great place to keep all my MINI's going strong!
Tony

Read MORE COMMENTS »      Write Your Own Testimonial »